Automatic in-process inspection offers such immense advantages over manual inspection, one might wonder why it hasn’t already been implemented across the manufacturing world. But we get it. As with almost any new technology for the shop floor, any hesitancy probably stems from legitimate concerns about the implementation process. What does it take to develop an application for your specific needs? What does it take to get the in-process inspection system qualified? How much production downtime is required? How much training? How do you gain confidence and certainty that the in-process inspection system is catching all the nonconformances and manufacturing anomalies that would otherwise cause expensive rework or scrapping?
A few features of LASERVISION automatic inspection system will put your mind at ease regarding these questions. Additionally, Aligned Vision’s automatic inspection experts – many of whom have worked for the company for decades – have been down this road many times and know how to streamline and eliminate uncertainty from the implementation process to meet your inline inspection needs.
A previous blog addresses the qualification process, which our experienced team will help you navigate efficiently. Now let’s take a closer look at the logistics of using a LASERVISION in your production operations. We think you’ll find the process much less intimidating once you see these simple steps.
- Perform background data collection. Generated through artificial intelligence deep learning (AI/DL), LASERVISION’s inspection analysis algorithms, or inspection models, are tailored to each specific application. As with all AI applications, the key to a well-built, accurate model is data. Data for LASERVISION comes in the form of captured images that show both correctly and incorrectly built features of the work-in-progress (WIP) as well as anomalies like foreign object debris (FOD).
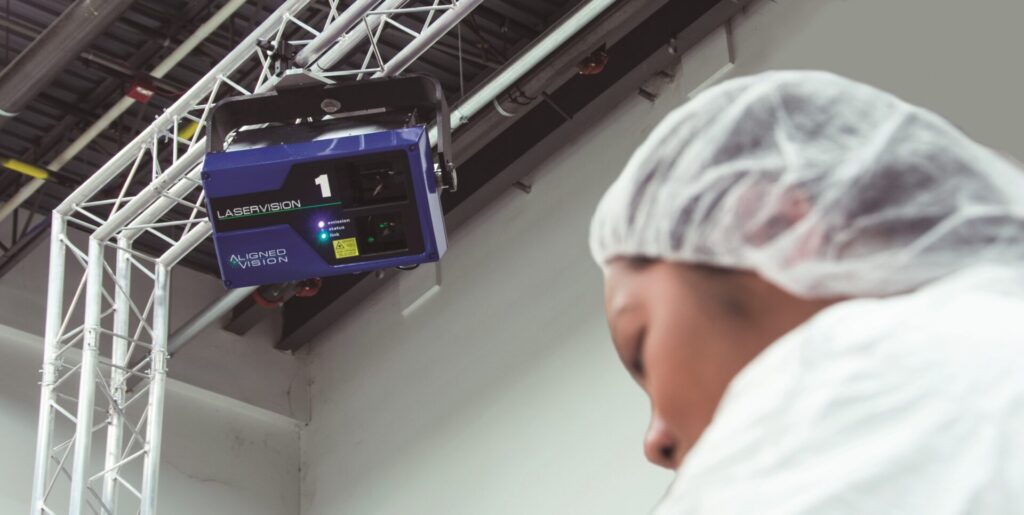
Nondisruptive data collection with LASERVISION is easy. You simply position a LASERVISION unit away from production equipment and aimed toward the WIP. While production operations continue (including your current inspection method), LASERVISION captures and collects calibrated images to be used as input for the AI/DL tool to develop the inspection models. Nondisruptive data collection is even easier if you are currently using LASERGUIDE or any other laser projection system for your production needs. Simply substitute a LASERVISION system for your current laser system (LASERVISION is fully qualified and runs any laser system data), and LASERVISION will keep performing laser projection functions while it collects calibrated images.
In the case of rarely occurring anomalies, you may also choose to create production artifacts containing deliberately created anomalies. Our complete development laboratory allows us to capture and automatically tag a large quantity of calibrated images from these artifacts for the AI/DL process. - Generate accurate analysis algorithms. Aligned Vision is experienced in creating these inspection models, a task that may be completed in a day or two and produces an initial inspection accuracy of 99% or higher. Of course, one of the great benefits of employing AI/DL is that the model is continuously fine-tuned as new data is collected, so you will quickly be able to achieve six sigma accuracy.
Aligned Vision has proven experience developing AI-enabled analysis algorithms, and we also work with a customer’s in-house or third-party AI development teams.
- Install LASERVISION and train your operators. Total time for installation and training combined is typically a day or two. Most if not all of the installation process will be performed while production continues and/or during regularly scheduled production stoppages. Likewise, training may be completed during normal production operations.
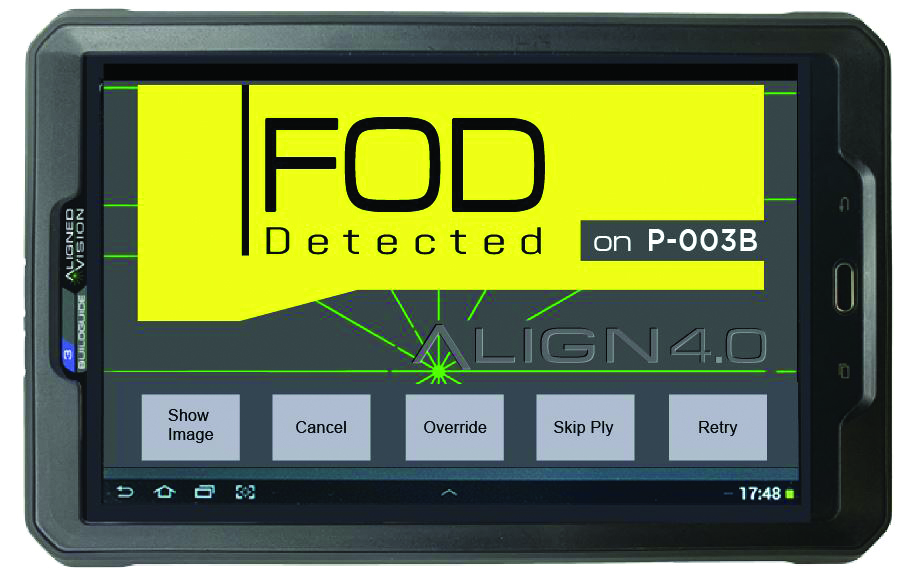
In fact, your operators need to know very little about LASERVISION to use it successfully. Setup operations are automated, and inspections are performed with no interaction required of the operator. The only time the operator is really involved is when a nonconformance or anomaly is detected. LASERVISION then projects a laser pattern to the location of the suspected flaw, and the user interface (both control computer and handheld touchscreen remote control) alerts the operator of the inspection failure and does not proceed to the next production step until the failure is corrected and reinspected (or overridden by a supervisor).

- Operate LASERVISION in parallel with existing inspection equipment or protocols. Because LASERVISION does not interfere with production operations, it initially will collect images and perform inspection analyses while inspections continue to be performed the way you have always done them. A comparative study will identify any flaws detected only by LASERVISION or the existing approach. The cause of each discrepancy will help to fine-tune LASERVISION’s performance (if necessary).
Once you and our application engineers have confidently confirmed that LASERVISION is operating according to specification, it becomes the primary inspection method.
We hope this overview helps to allay any concerns you may have about implementing LASERVISION automatic in-process inspection at your shop. If you’d like to see an onsite or online demonstration of LASERVISION, contact us today!

